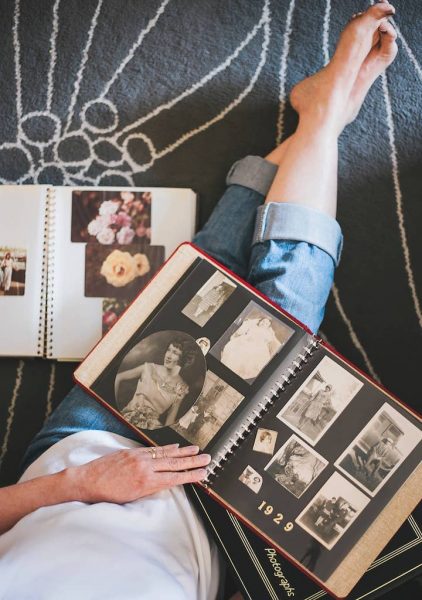
Sticky photo albums are one of the worst things to exist in life. These albums, which are made with glue spread all over them and a Mylar plastic covering which requires a different level of patience. You can’t just pull it off as hard as you can or you’ll end up damaging your precious photo.
But if you’re determined to remove your photos from your old album and transfer it somewhere else, here are 4 tips and tricks worth trying out. Most of the materials needed here can be found at home, so it would be practical and will not cost you a lot of bucks.
1. Grab your dental floss
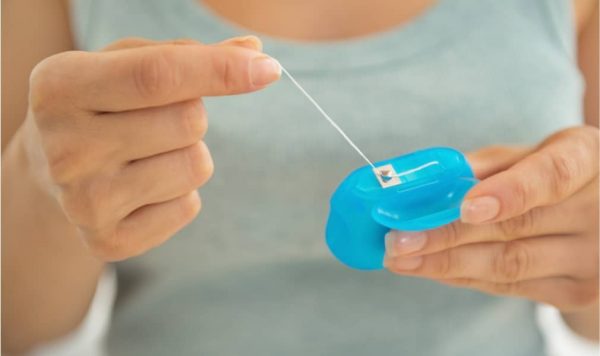
This is the most common trick to removing photos from a sticky photo book. Cut a short line of your unwaxed dental floss and wrap both ends to your left and right index fingers.
Then gently slide the floss on the corner of the photo. Slide it up and down the way you floss your teeth. Do this slow and steady to avoid tearing the photo.
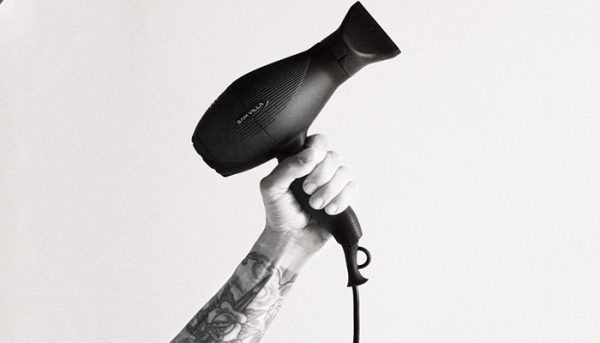
Once the photo is removed, blow warm air on the back of the photo with a hairdryer. This will remove the adhesive remaining at the backside.
2. Use a metal micro spatula and a hairdryer
No dental floss at home? Use a micro spatula instead. Just slide it under the photo and blow warm air with a hairdryer to loosen up the stickiness of the adhesive. Again, do this gently to avoid ripping the photo. Keep the hairdryer blowing hot air on the photo itself too.
3. Microwave a page from your photo album to heat the sticky glue
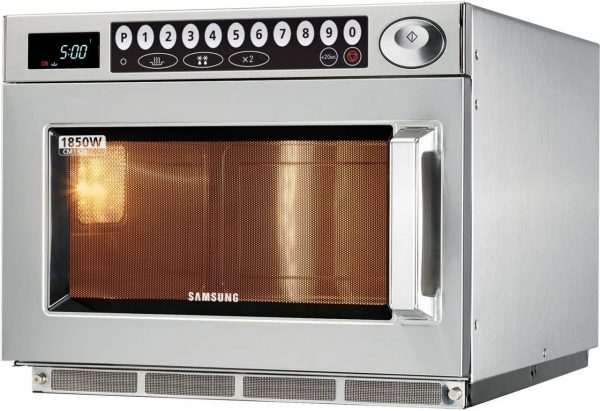
To loosen the stickiness of the photo album’s adhesive, photo experts recommend putting a page into the microwave. Place it in the oven and microwave it for five to ten seconds. Keep repeating this until the adhesive is warm. Once it’s good, you can pry the photo from the page easily.
Just remember not to rush the process and turn the microwave for thirty seconds or higher. The glue will turn hot and may burn the photo.
4. Put your album in the freezer
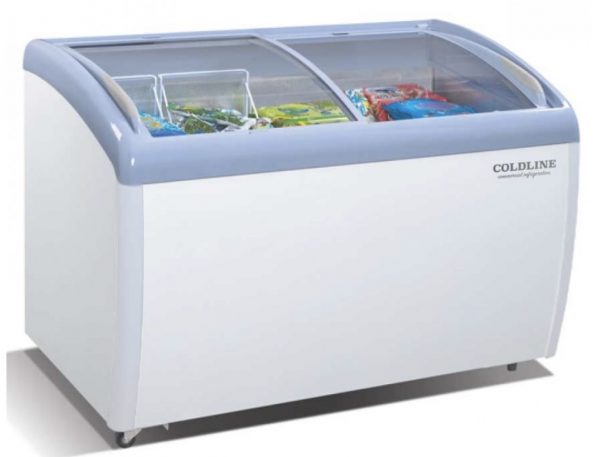
If heating the glue doesn’t work for you, or if you want to avoid burning your photo, try freezing it instead. Put your photo album in the freezer for a brief time to make the glue more fragile and easier to break. Don’t leave it for too long inside though, or the condensation may take place when you place it back at room temperature, and the photo will end up soaking wet.
Few Reminders:
1. Never use sharp tools like a knife to pry the photos from the album
It’s frustrating when photos stick stubbornly on your photo album, but don’t let it get the better of you. Avoid using sharp tools like knives to pry your photo, or you’ll end up tearing the picture. Even a dull knife can potentially damage your photo.
2. If you have a rare photo that cannot be replaced, consider asking a professional for help
If you’re removing a rare photo that you can’t risk losing or damaging, go to a professional to have it removed. They have the proper tools and experience to remove the adhesive from your photos without damaging or washing out its details.
The same goes when you’re still unsuccessful in removing your photos despite trying the above tips.
3. Try to make a copy of the photo instead of transferring it somewhere else
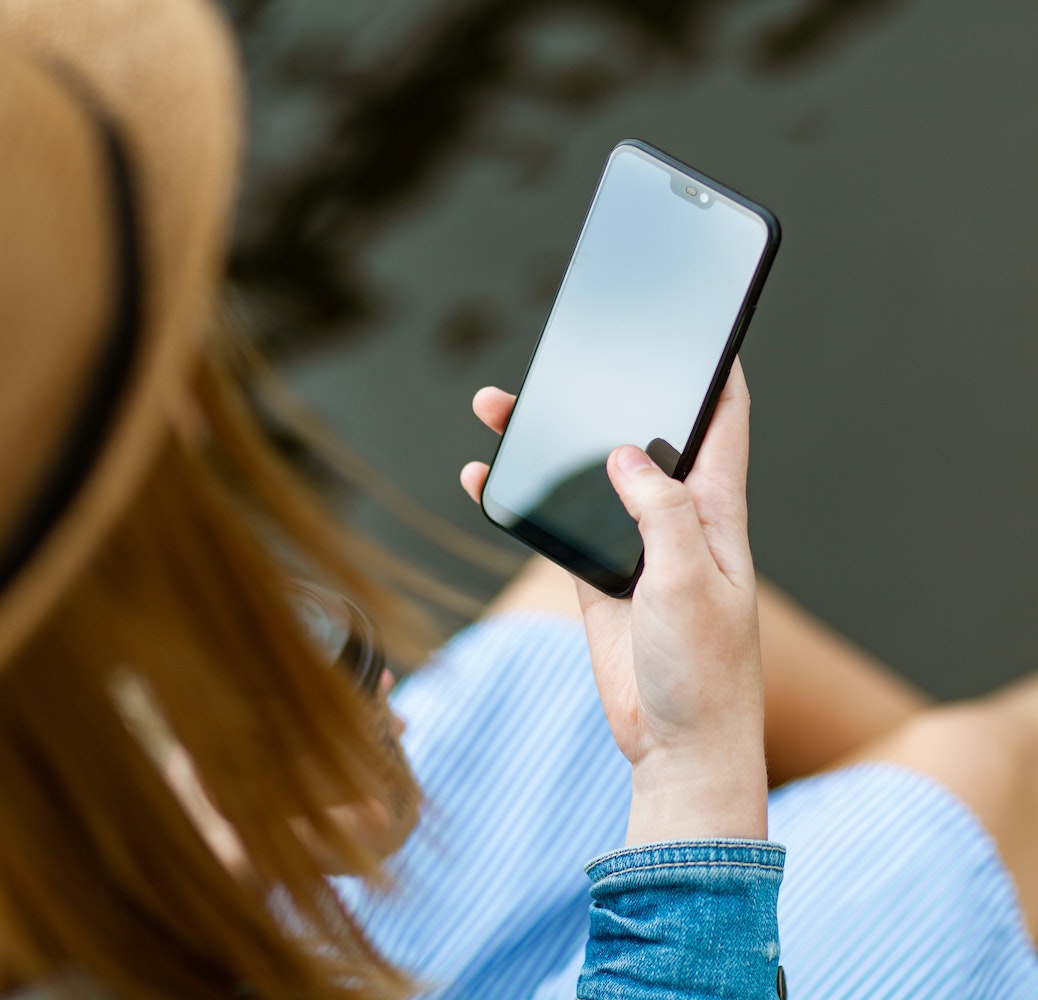
If your purpose is to transfer your photos to a new album, you may want to consider making a copy instead. Use a digital scanner or photograph it with your smartphone, then print the soft copies on quality photo paper.
Or you can print these soft copies into a photo book. They’re adhesive-free, so you won’t run into any sticky problems with it in the future.
4. Consider getting an acid-free photo album next time.
The next time you’re buying a photo album, check it’s packaging to see if it’s acid-free. Acid damages and deteriorates your photos faster, so if you don’t want to run into the same sticky problem, go for an acid-free photo album.
If you can’t purchase one, remove the plastic sleeves and place some acid-free tissues between the pages instead. This will prevent the photos from touching each or other or some adhesives lying around.





Leave a Reply